Once you have one kid, it’s kind of hard to have time to make the next pregnancy just as special as the first. I had been on a mission to find a special project to devote to my new little one’s arrival, something special and “just for him” to help me have a chance to focus on THIS pregnancy a little better (or the postive parts. It’s easy to drown in all the fatigue and morning sickness and backaches, right?)
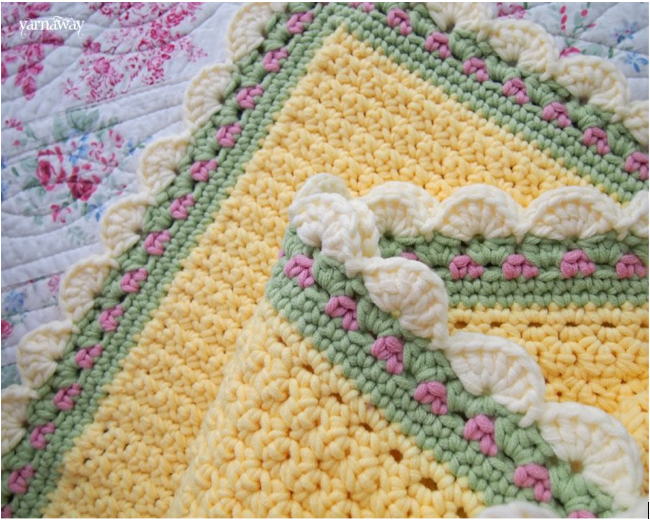
Back in March, I came across this lovely post for a baby blanket from the blog Yarnaway:
Is that not an absolutely adorable baby blanket?!
Obviously, they learned near the end of making the blanket that it would be for a girl, so added in a hint of pink. The colors weren’t right for Baby Boy’s nursery theme (oh, and we will have to talk about that in another post soon!), but the pattern (based on this tiramisu baby blanket pattern found on Ravelry) was simple, and something that my tired brain and fingers could process doing at the end of a long day without much extra thought.
As soon as I saw these pictures and the pattern, I knew I had to make it. I went to my favorite yarn store (no, not Hobby Lobby or Michael’s- they are fine and dandy for amigurumi and short, fun projects) to find quality yarn that would be able to be washed/withstand a little bit of newborn love.
The store owner gave me a few options, but I found and felt this Berroco Weekend yarn, and it was just perfect. It’s a soft and lightweight blend of acrylic and cotton, perfect for a Texas summertime baby. Of course, the price per skein made it much more worth it, as well (just over $6/205 yards).
What I used:
- This Tiramisu Blanket pattern
- Trusty K 6.50mm hook (bigger than recommended by the pattern, just to get an equal stitch gauge)
- Berroco Weekend yarn:
- Cerulean/5942 (2 skeins),
- Camp Stove/5958 (2 skeins)
- yellow/5921 (1 skein- looks closer to “Curry” on the website, but there were no exact number match ups)
Stitches used:
- chain (ch)
- single crochet (sc)
(Seriously. That is IT. If you can chain, single crochet, and count to 91, you can do this blanket.)
For how I did the stripes, following the pattern set in the Tiramisu blanket pattern:
Ch. 91
Foundation Row: In color 1 (Cerulean) 2 sc in 3rd ch from hook. (Sk next ch, 2 sc in next ch) across to end; turn — 90 sts.
Row 2-8: Ch 1, sk first sc, 2 sc in next sc; (sk 1 sc, 2 sc in next sc) across to end; turn — 90 sts
Row 9-10: Change to Color 2 (yellow), ch1, sk first sc, 2 sc in next sc; (sk 1 sc, 2 sc in next sc) across to end; turn — 90 sts
Row 11-18: Change to Color 3 (Camp Stove), ch1, sk first sc, 2 sc in next sc; (sk 1 sc, 2 sc in next sc) across to end; turn — 90 sts
Row 19-20: Change to Color 2 (yellow), ch1, sk first sc, 2 sc in next sc; (sk 1 sc, 2 sc in next sc) across to end; turn — 90 sts
Row 21: Change to Color 1 (Cerulean), ch1, sk first sc, 2 sc in next sc; (sk 1 sc, 2 sc in next sc) across to end; turn — 90 sts
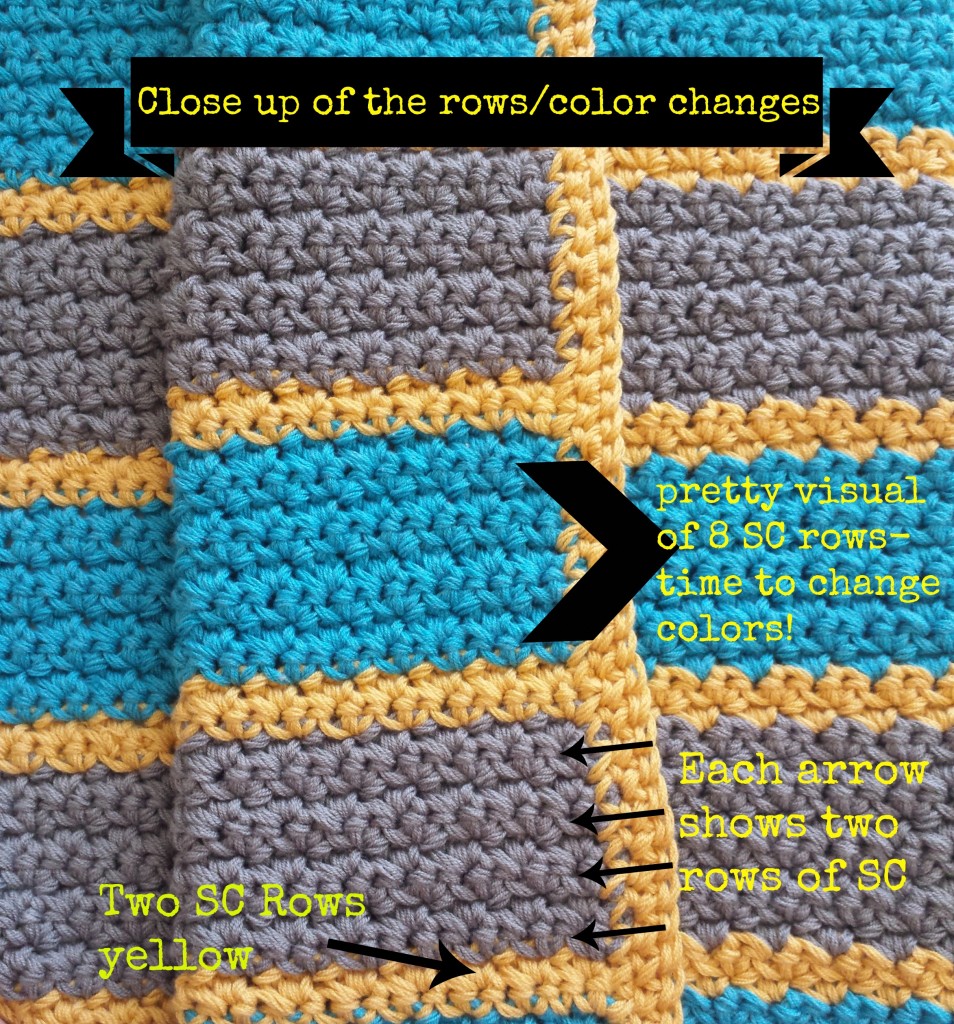
So on and so forth. It was pretty easy to count rows- basically, eight rows of Color 1 and 3 broken up by two rows of Color 2. Go on for the desired length. I’d say that Baby Boy’s blanket ended up about 27”x27” or so, but there is quite a bit of stretch in the blanket.
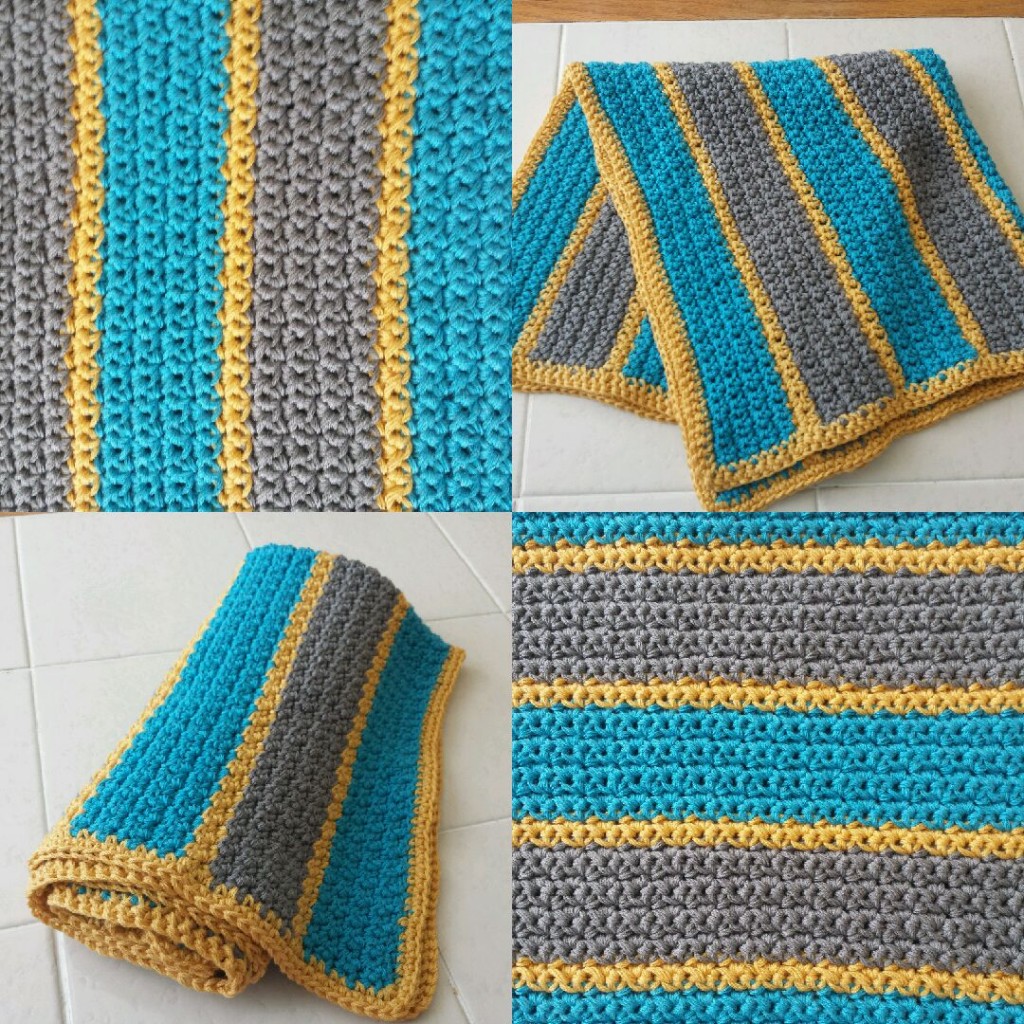
Anyways, it’s taken me a while to finish the project. Between caring for my energetic toddler, making some gifts for some other friends who have been expecting, and trying to get things in order for Baby Boy’s arrival, I finally finished last night. While I know the original pattern has the lovely scalloped edges, I omitted it. As I was working the yellow to frame in the edges, I fell in love with the simplicity of the straight edge look. (My husband also said it looks more “manly”. But let’s not fool ourselves, I would have scalloped those edges if I really wanted to.)
For the record, the yellow “frame” around the blanket is just 2 rows of straight up single crochets and then fastening off and weaving the ends in- nothing fancy at all! The pattern suggests doing 88 SC down the sides (top and bottom should both be an easy 90 across to get), but since I didn’t do the scalloped edges, I just made it as even and nice looking as possible since the edge count didn’t really matter in the long run.
I felt with the strong colors of stripes already in the center, the scalloped edges would probably be too busy for the blanket, so I am quite satisfied at the end result.
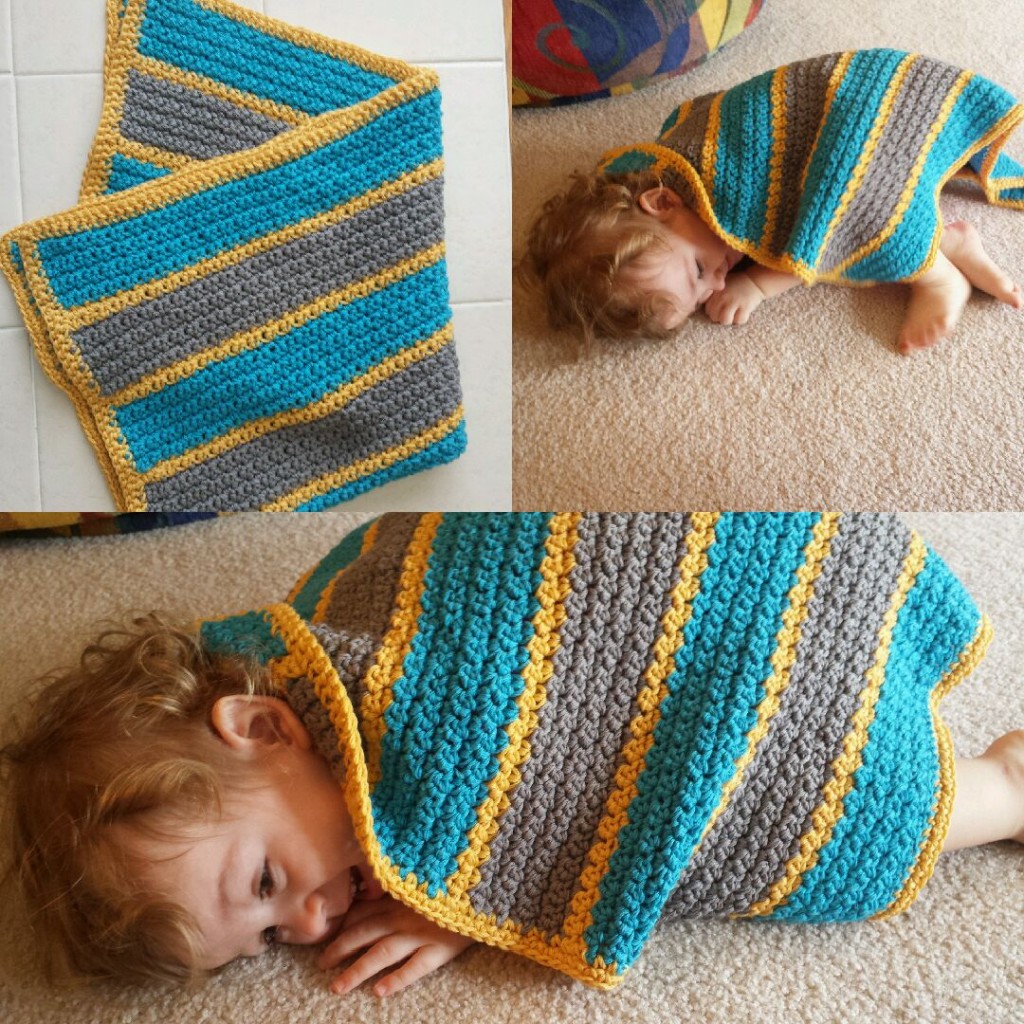
It looks like I’m not the only one. Big Sister has been taking every chance she gets to “sleep” with the new blankie- a pretty big compliment. This product is Evelyn approved!


Impressive! Can’t wait to see the blanket in person!